- Get link
- X
- Other Apps
So far I've been playing just that basic introductory scenario from the old Hawk 2-player starter. It was fun but having 3 static objectives was a bit too... predictable.
The new rulebook has a mission called Survey and Control which seems to be an adaptation of the older 1.0 mission called Recon (?).

10 Objectives. Each worth 1VP. No need to search, just roll a d6 to see what you find.
1 = 1VP + 1d6 booby trap inflicting damage on buildings and infantry inside.
2-5 = 1VP.
6 = Focal Intel, turning the objective into a mobile objective worth 1VP and an extra 1VP at end game for army side with most points within 6". (I think?)

As always, I have my trusty PHR and Scourge forces standing by. Mainly because I'm stuck with TTCombat's inability to produce the required units in order for my order to ship from the UK. I think they bit off more than they can chew with DZC/DFC what with the pandemic lockdowns and restrictions. Hope this doesn't cause the games to falter again (through no fault of theirs).
I actually played this mission twice. Mainly because I realised after my complaints about tactics in the previous post that I've been playing all this while with a serious error: neither the new 2.1.1 rulebook nor the Fast Play Army Sheets mention that the Scourge Reaper tank weapons hit non-aircraft on a 6+ instead of the stated 2+ (for aircraft!). What a huge game changer! That unit would be rolling 6 dice, hitting on 2+ and given the odds would reliably inflict at least 1 DAM on the target if not 2... if the dice go their way, that is.
So I'm going to give a summary of the first game, which the Scourge handily won. (No wonder with the Reapers rolling 2 dice each and hitting at 2+!)

My first game was really interesting, with very fluid objectives, rewarding more mobile units. Which made it more challenging for the PHR (generally the slowest of the DZC factions). Which isn’t to say the PHR can’t win it, but it’s very unforgiving of the slightest tactical error and poor troop deployment.

In the end, the Scourge won 4-3, despite having actually lost more units than the PHR, because they were able to accomplish more Mission objectives while preventing the PHR from doing so by making flanks attacks and hitting at the infantry transports (thanks to the upgunned Reapers). Doing so made the PHR infantry unable to reach the objective buildings in time.

That’s why in this mission, because the objectives did not need to be moved off the table, the dropships weren’t a priority. Although the PHR did lose one as a target of opportunity and not a deliberate strategy.

This is also where the PHR limitations in weaponry are highlighted. Yes, the weapons are powerful but most are normally limited to one die on the attack. Scoring a hit on Scourge skimmers can be problematic, too (needs a 4+), and when you hit, most units need 6+ to destroy the enemy vehicles and dropships. They only have one unit that can reliably kill vehicles. And that’s 2 walkers rolling 1 die each. The Scourge can match this with their 3 Hunter tanks. And their other units have more versatile weapons, capable of rolling more dice, thus are not so reliant on the fickleness of RNG thus being able to score kills more reliably.

Which isn’t to say the PHR can’t win. You just need more skill to play them well.
The game itself was fun. Lots of manoeuvre, on the spot tactical decision making, infantry being key to victory, actually seeing the Scourge execute a pincer attack while the PHR refused their left flank and swung to their right, thus moving the axis of the battle ... it's like watching one of the military history battles come to life!
For my second game...
Same setup and forces, same mission.
TURN 1
Both PHR and Scourge grabbed 2 VPs each. And lost 1 IFV each, stranding the infantry squads in their respective buildings. The Scourge managed to get Focal Intel which proved critical at the end of the game.

A lot of jockeying and manoeuvring for safe harbour for all dropships.
Scourge: 2; PHR: 2
TURN 2
No VPs grabbed as infantry decamped from buildings into IFVs. The PHR Phobos and a Neptune dropship survived point blank shots from the Reapers and Hunters as the Scourge went first.

No buildings were destroyed as the infantry left before they could be destroyed, so not much point in destroying buildings when there's nothing left inside.
Scourge: 2; PHR: 2
TURN 3
The Phobos managed to down a Marauder. Warrior B squad left their building. On foot. Warrior A squad grabbed a VP. Uh oh. Lots of maneuvering to get into position.

Scourge: 3 PHR: 2.
TURNS 4 & 5
It’s Armour Alley as the Ares and Phobos walkers dueled with the Hunter and Reaper skimmers. Several skimmers and a Phobos got destroyed. The Neptune dropships moved out of harm’s way. Even the Immortal Longreaches got into the action.
The Immortal A squad moved all the way to the PHR right flank to grab a VP then moved all the way to the other side of the table to a building with an objective, ahead of Warrior B squad on foot heading for the same objective. (PHR squad didn't manage to grab the objective bcos it ran out of actions but I also think I messed up their activations).

Then it took 5 shots to bring down the remaining Invader IFV, setting Warrior A squad on foot!
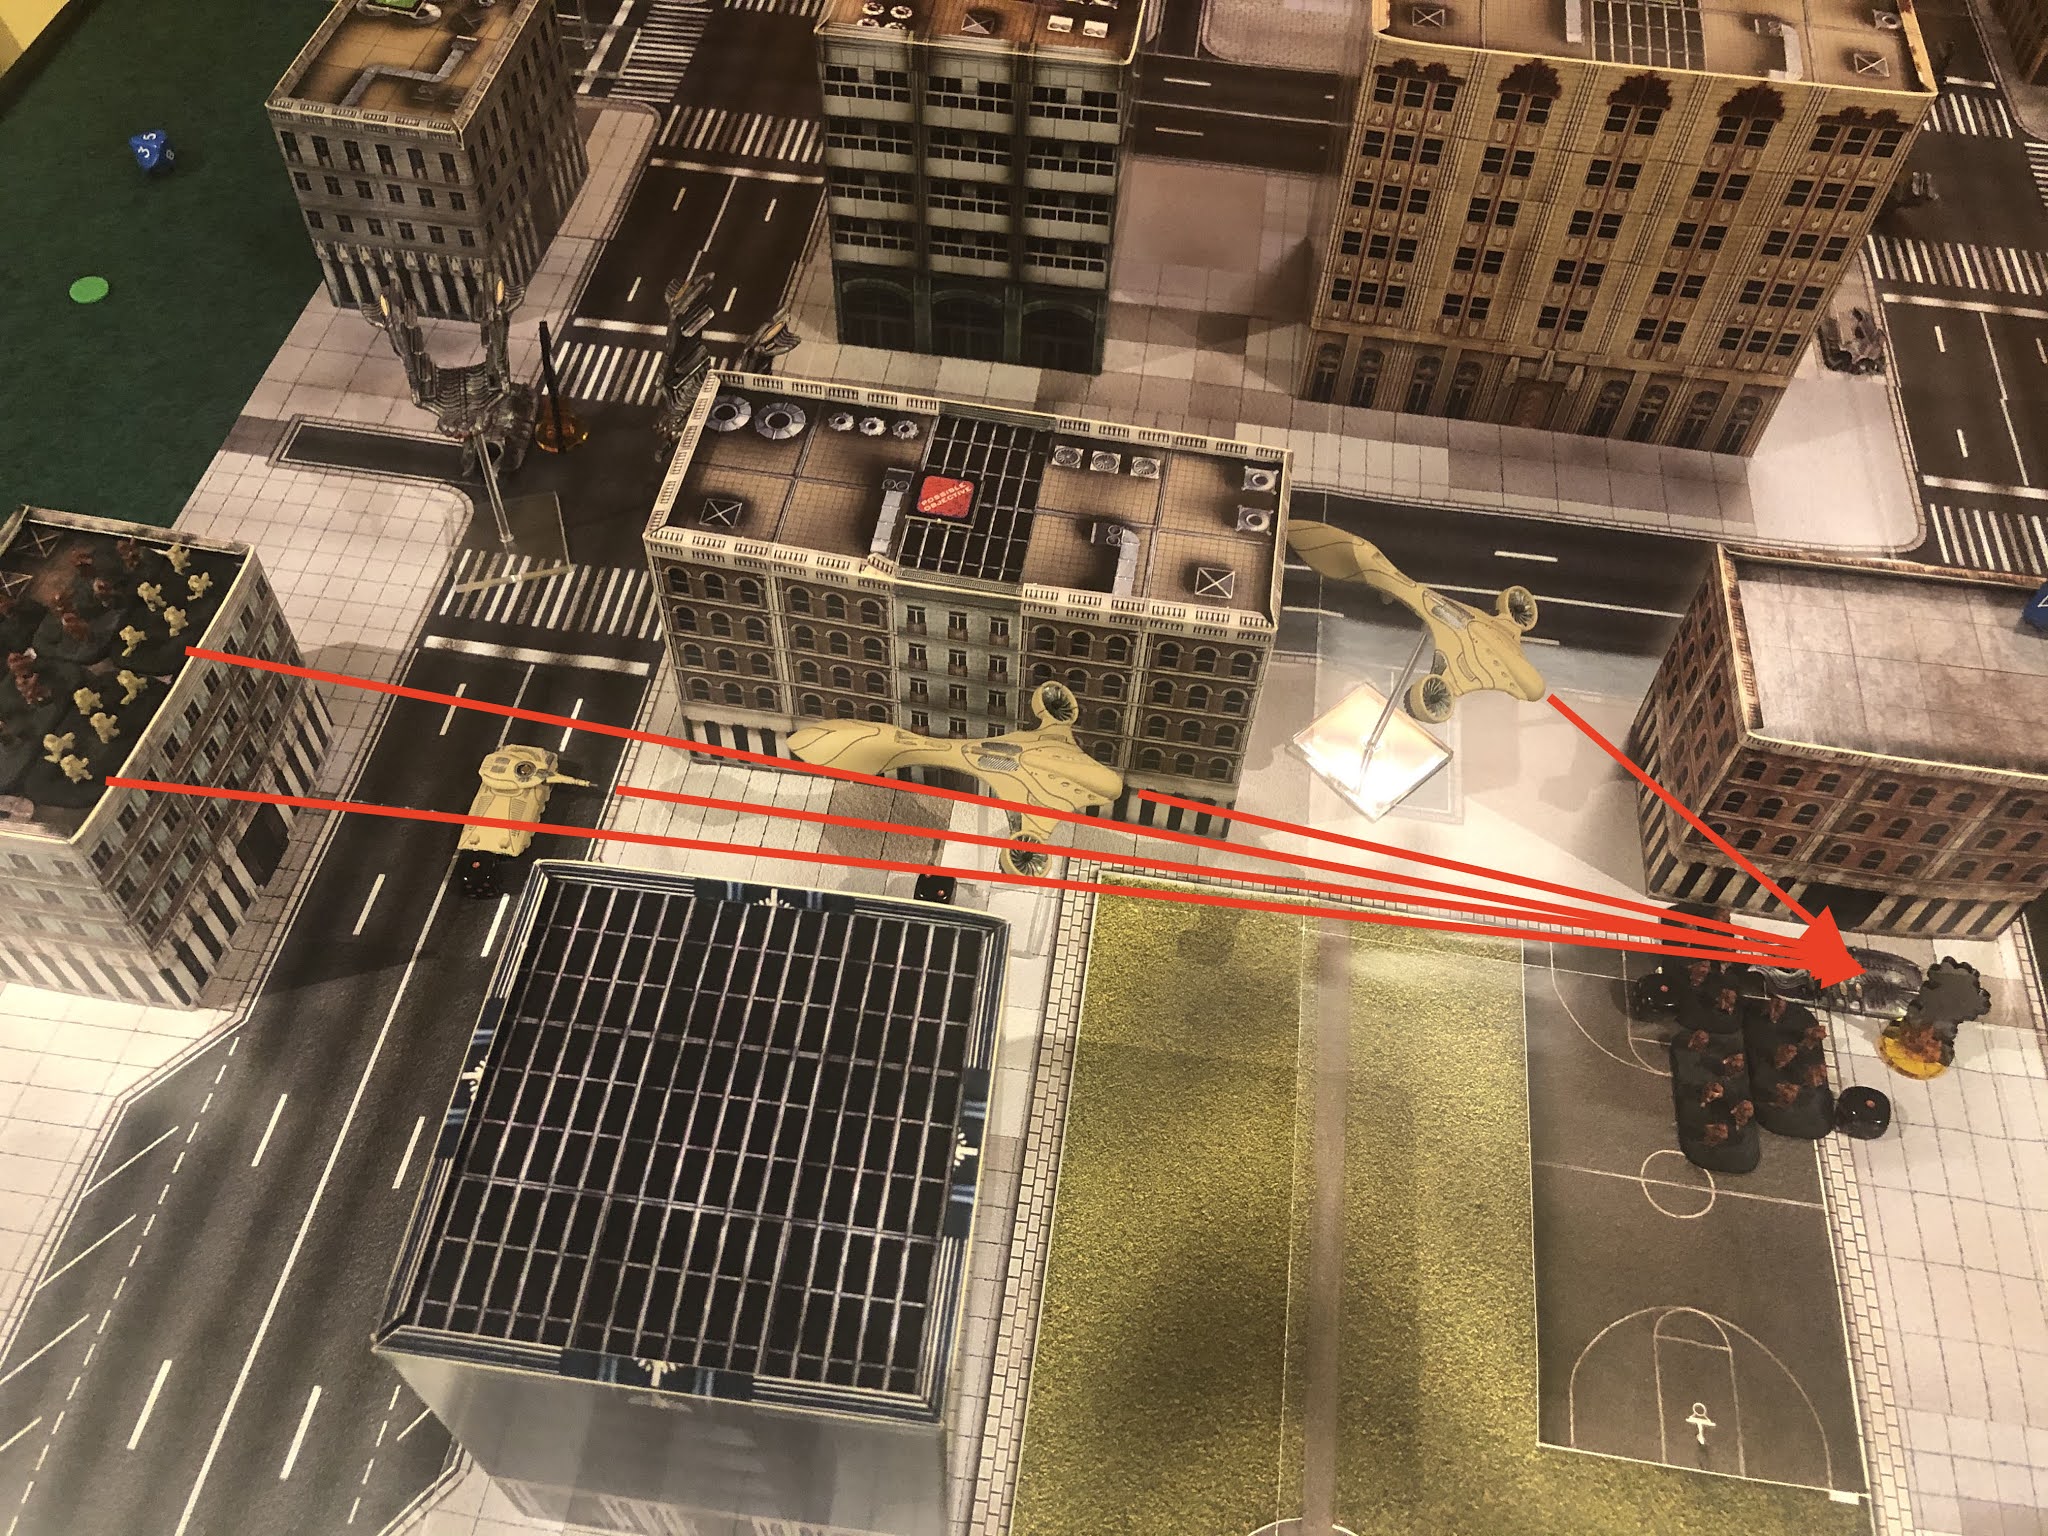
Then in a surprise attack, Immortal B squad, stuck high up in a skyscraper, was within range of Warrior A and practically decimated the squad, leaving only 2 alive!
The Scourge attempted to return the favour as 2 Marauders failed to destroy the remaining Juno. Warrior B squad came the closest but only managed 1 DAM. Then they took refuge in the building with Immortal A squad.

Scourge 3; PHR: 4
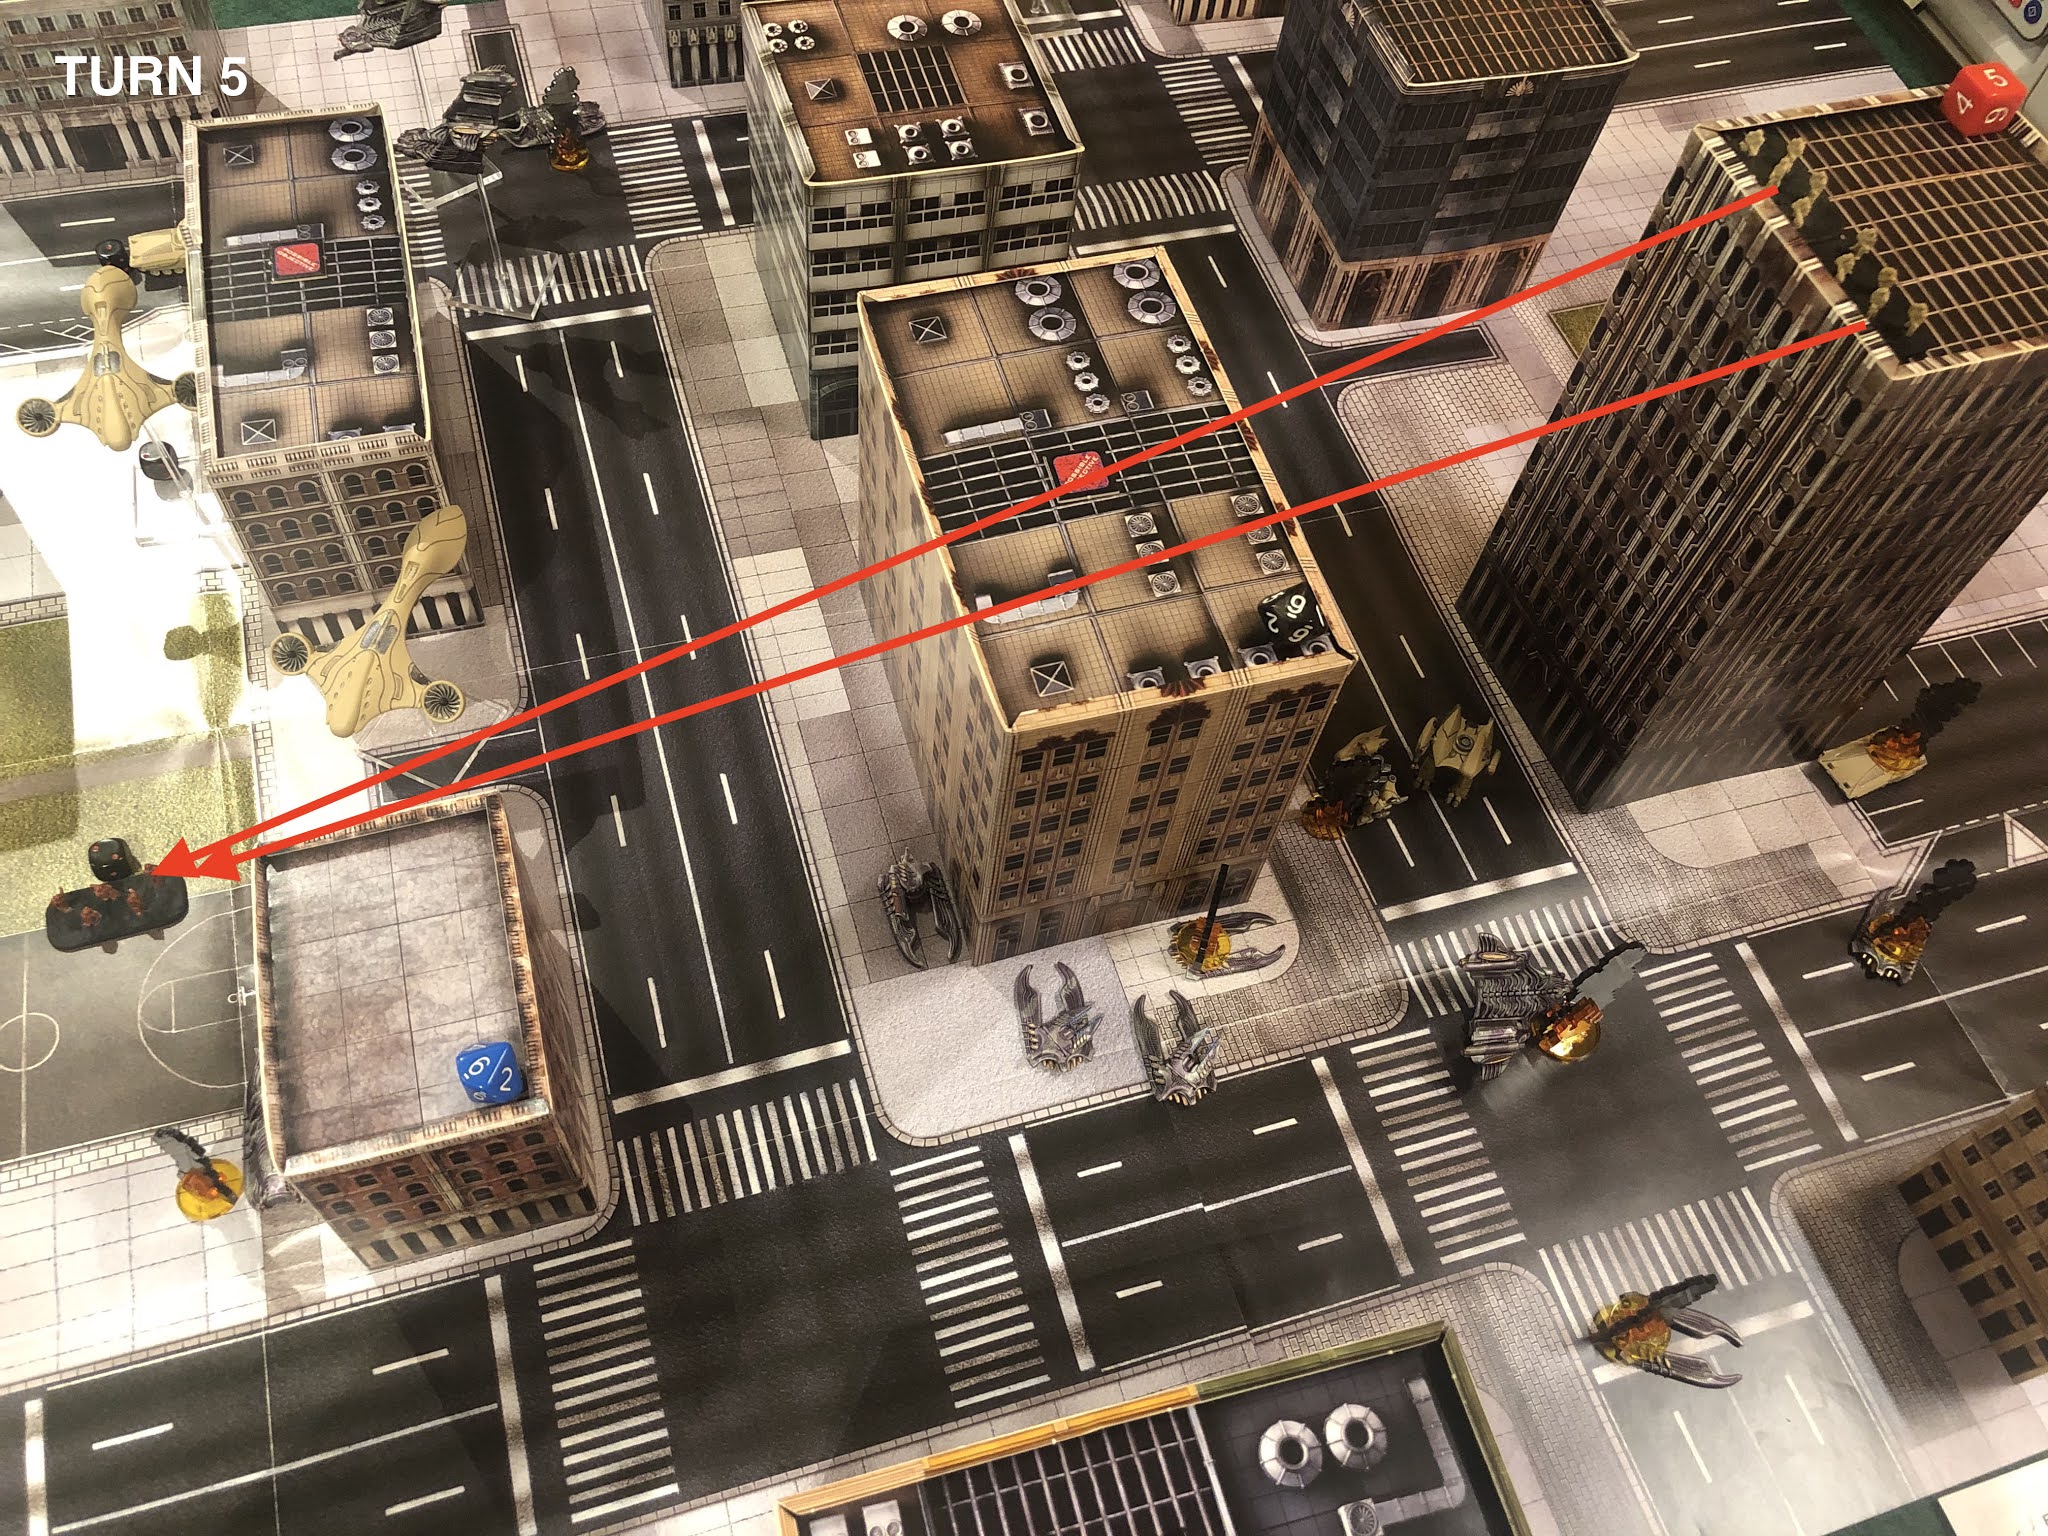
TURN 6
Immortal A squad did a CQB on Warrior B squad which lost more than 50% casualties (since there was no need ro re-roll damage). They passed their Fortitude test. Immortal A squad’s Longreach rifles finished off the last of Warrior A squad caught in the open. They then got out of the building and embarked on the waiting Juno. Which drove to a Neptune dropship that picked them up and flew firther away from the Scourge AA Reapers. Along the way, all the Neptunes and the Juno tried to bring down the building containing Warrior B. They failed.
The Scourge tanks managed to destroy 2 Ares walkers and the PHR destroyed the last remaining Hunter in Armour Alley.

Then the full error of the PHR was revealed as the Focal Intel discovered by Warrior B squad turned out to be a MOVABLE objective. The PHR couldn’t get any units within 6” of the objective. The Scourge could.

So the points at the end of the game was PHR 4, Scourge 4. Tie breaker : most units killed. PHR wins.
AAR: This was a wild and wooly battle. Both sides had no battle plan beyond protect the infantry and their transports (IFVs) so they could go grab objectives while destroying the other side's infantry and transports.
The outcome was both sides had one IFV each destroyed hampering mobility to grab objectives.
Notable highlights:
- A massive armoured battle in Armour Alley, where 8 walkers and skimmer tanks and a Scourge dropship perished.
- Airmobile tactics: an Immortal squad shifted from the PHR left flank all the way to the right and grabbed 2 VPs there, barely pipping a Scourge Warrior squad slowly making their way on foot towards that same objective.
- Needing 5 units to deal 2 DAM on a Scourge ransport. (Testimony to poor PHR dice rolls. Seriously, rolling only 1 die per unit, needing 4+ to hit and 6+ to damage).
- A PHR infantry squad that was stranded in a building (it couldn't move on foot for fear of the potent anti-infantry weapons the Scourge Hunter tanks packed) single-handedly effectively wiped out a Scourge infantry squad out in the open.
- The PHR not having to fear the Scourge Reaper tanks any more (beyond making sure the dropships avoid them).
- A last ditch effort to grab the last VP from the Focal Intel objective thanks to me not realising that objective was a mobile objective (?) due to the wording of the victory conditions. So the PHR tried to send all 3 of their dropships there but ended up short, handing that final VP to the Scourge.
What didn't happen:
No buildings were destroyed despite both sides' best efforts (poor dice rolls) and no booby traps were found.
The starter sets give you core units. But it’s the other unit types that will bring this game to its full SF potential : jump jet equipped troops and walkers... psionic banshee-type solos... force field support units... robotic spider swarms able to munch through armour or infantry... teleporting gates ... I’ve got them all on order to bring my forces up to 1000 points, but I’m at the mercy of Covid production and delivery uncertainties. Sighhhh...
I really like the alternate activating of battlegroups instead of individual units is sheer genius. It’s not so important at smaller level games that I’m currently playing (500 points) but will come into its own at 1500+ point games for sure. I wonder whether a house rule using the Gates of Antares dice pull activation instead of alternate activations will work? Hmmmm... any thoughts?
The DZC dictum of : if you’re not shooting at something every turn with all your units, you’re playing it wrong is certainly true! Unless you’re using your full movement to manoeuvre to a more advantageous position, that is, so you can inflict even more damage next turn!
The more I play it, the more I like the game. There’s not a single wasted unit at such low points. Every unit is valuable and has a role or function to play.
My earlier observation about PHR weaponry and firepower still holds true though. Having less dice to roll and only managing a hit on 4+ (3+ for the Ares) on the Scourge skimmers vs the Scourge only needing a 2+ to hit the PHR is tough.
I can see why the game picked up so much traction before Hawk went bust in 2016(?). It really gives you the brigade level feeling of wielding several battlegroups in an engagement and I can’t wait for Covid lockdowns to end so I can play it with my group.
FOR FUN:
New foldable 4x4 table. Really makes a lot of difference in setup now.


Comments
Post a Comment